Passthrough physical disk to VM
This guide will passthrough physical disk(s) into a virtual machine and use it like normal disk
This guide uses partial content from the original, summarized based on my understanding and for reference Source: Proxmox Wiki
List the physical disks
In our case, we will use disk-id to identify disks, using lsblk to list your disks installed on the Proxmox host
1
find /dev/disk/by-id/ -type l|xargs -I{} ls -l {}|grep -v -E '[0-9]$' |sort -k11|cut -d' ' -f9,10,11,12
You will get output like:
1
2
3
4
5
6
/dev/disk/by-id/ata-ST8000DM004-2CX188_ZCT1DNY1 -> ../../sda
/dev/disk/by-id/wwn-0x5000c500c35cd719 -> ../../sda
/dev/disk/by-id/usb-Generic_STORAGE_DEVICE-0:0 -> ../../sdb
/dev/disk/by-id/usb-JMicron_Generic_0123456789ABCDEF-0:0 -> ../../sdc
/dev/disk/by-id/ata-ST2000DX001-1CM164_Z1E783H2 -> ../../sdd
/dev/disk/by-id/wwn-0x5000c500661eeebd -> ../../sdd
Assign disk to VM
After noting your disk by-id from previous step, just assign it to your virtual machine
1
qm set <vmid> -scsi<scsi_number> /dev/disk/by-id/wwn-0x5000c500661eeebd
Replace
<vmid>with your VM ID and<scsi_number>with the running number ofscsion your VM (starting with 0)
Check result
After assigning the disk to the VM, you will see the disk in the Hardware section.

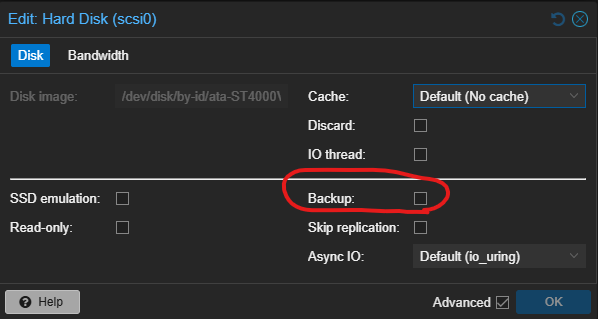
(Optional) Most of the time, I disable backup for the physical disk (for personal reasons) by unchecking the backup option